Setting up the development environment for Chainer with CUDA on Eclipse on Windows 10
The versions we are installing
- Visual Studio2017
- CUDA Toolkit10
- CuDNN7.4
- Anaconda3.5.3.1
- Chainer5.1.0
- Cupy5.1.0
- Ecdivpse2018-09
Requirements
- Windows 10
- Again, perhaps the same procedure may work on other Windows.
- CUDA compatible GPU
- Which is listed in https://developer.nvidia.com/cuda-gpus
1. Visual Studio
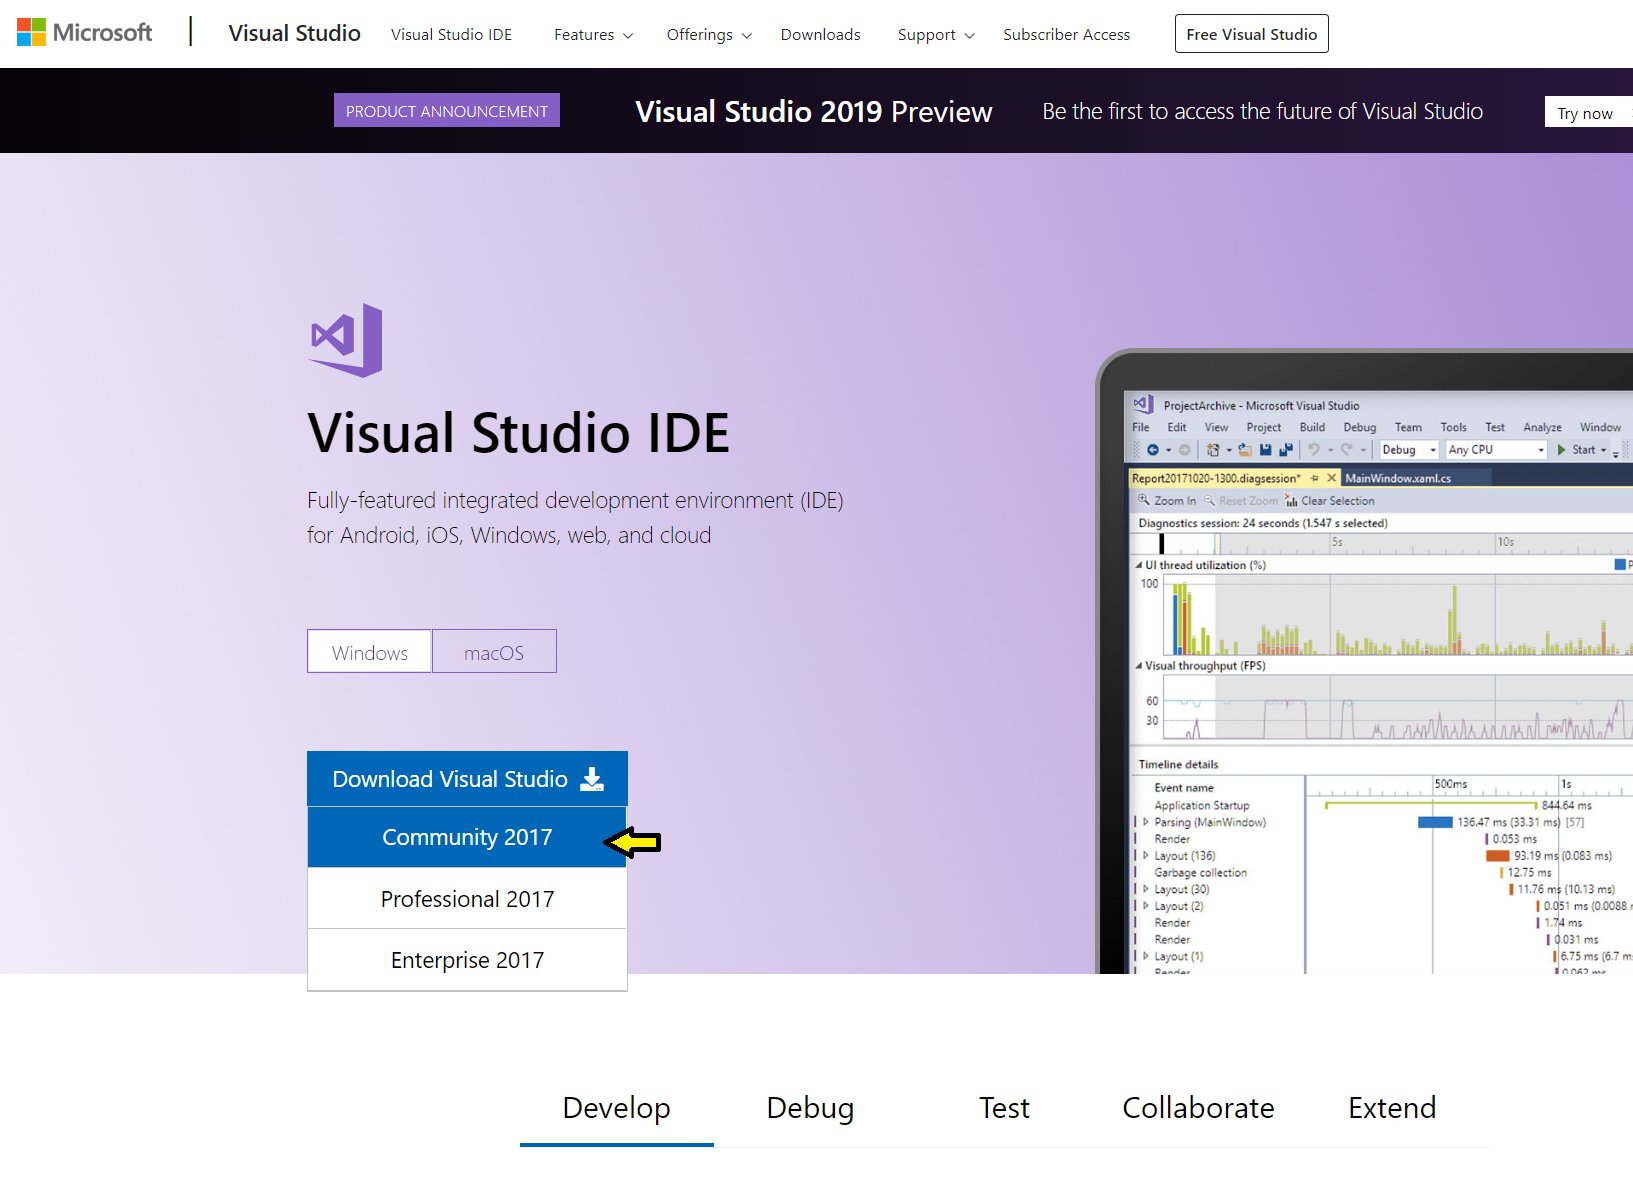
Visual Studio is required for installing CUDA. Free version (Visual Studio Community) is available.- Download from https://visualstudio.microsoft.com/vs/
- Go to Download Visual Studio -> Community 2017
- Run the downloaded file.
- Select "Desktop development with C++" and install.
- Restart the PC as instructed.
2. CUDA Toolkit
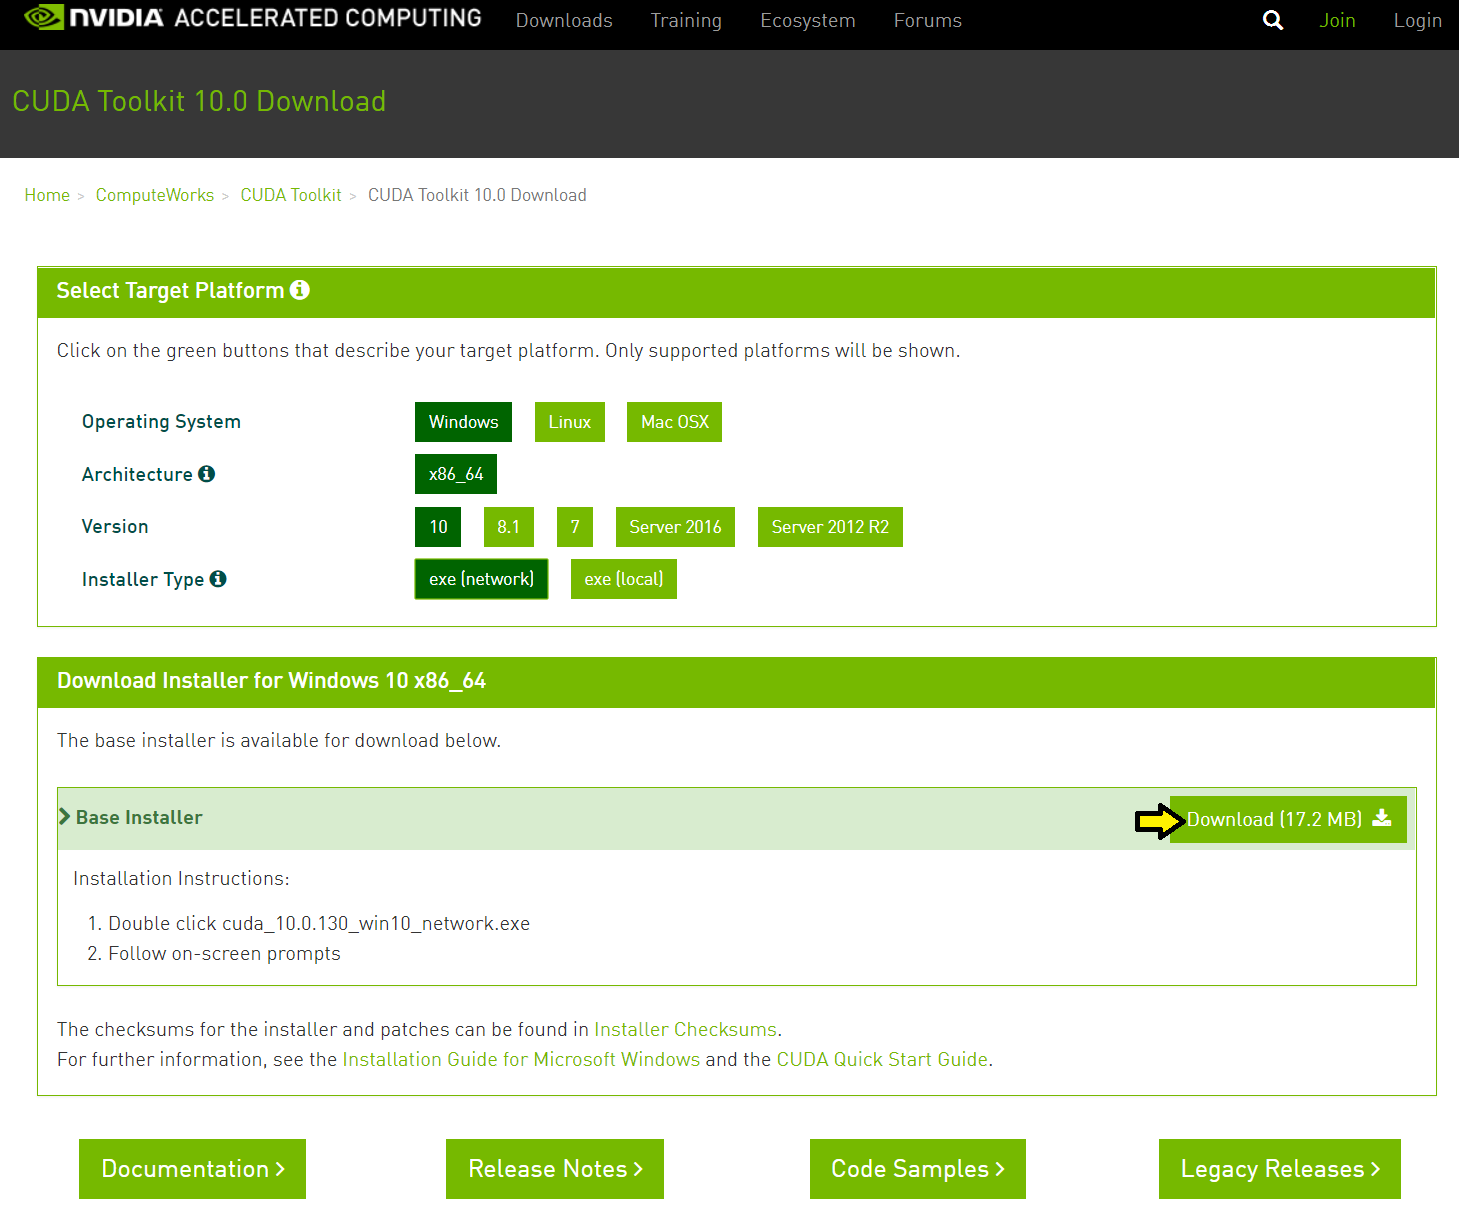
- Download from https://developer.nvidia.com/cuda-downloads
- Select Windows -> x86_64 -> 10 -> exe (network) -> Download
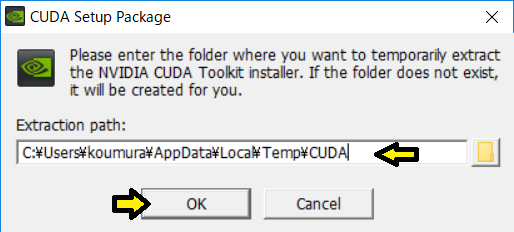
- Run the downloaded file.
- This path can be anywhere. You can leave it unchanged. Then click OK.
- Click "AGREE AND CONTINUE" on the software license agreement.
- Select "Express (Recommended)" and click "NEXT".
- When installation is finished, UNCHECK "NVIDIA GeForce Experience" and Close.
- After the installation, it may be good to restart the PC just in case even if not asked.
- Official installation guide: https://docs.nvidia.com/cuda/cuda-installation-guide-microsoft-windows/
3. GPU driver
This may be installed automatically along with CUDA Toolkit (according to the release notes of CUDA) https://docs.nvidia.com/cuda/cuda-toolkit-release-notes/index.htmlIf not, you must manually install the NVIDIA GPU driver.
4. CuDNN
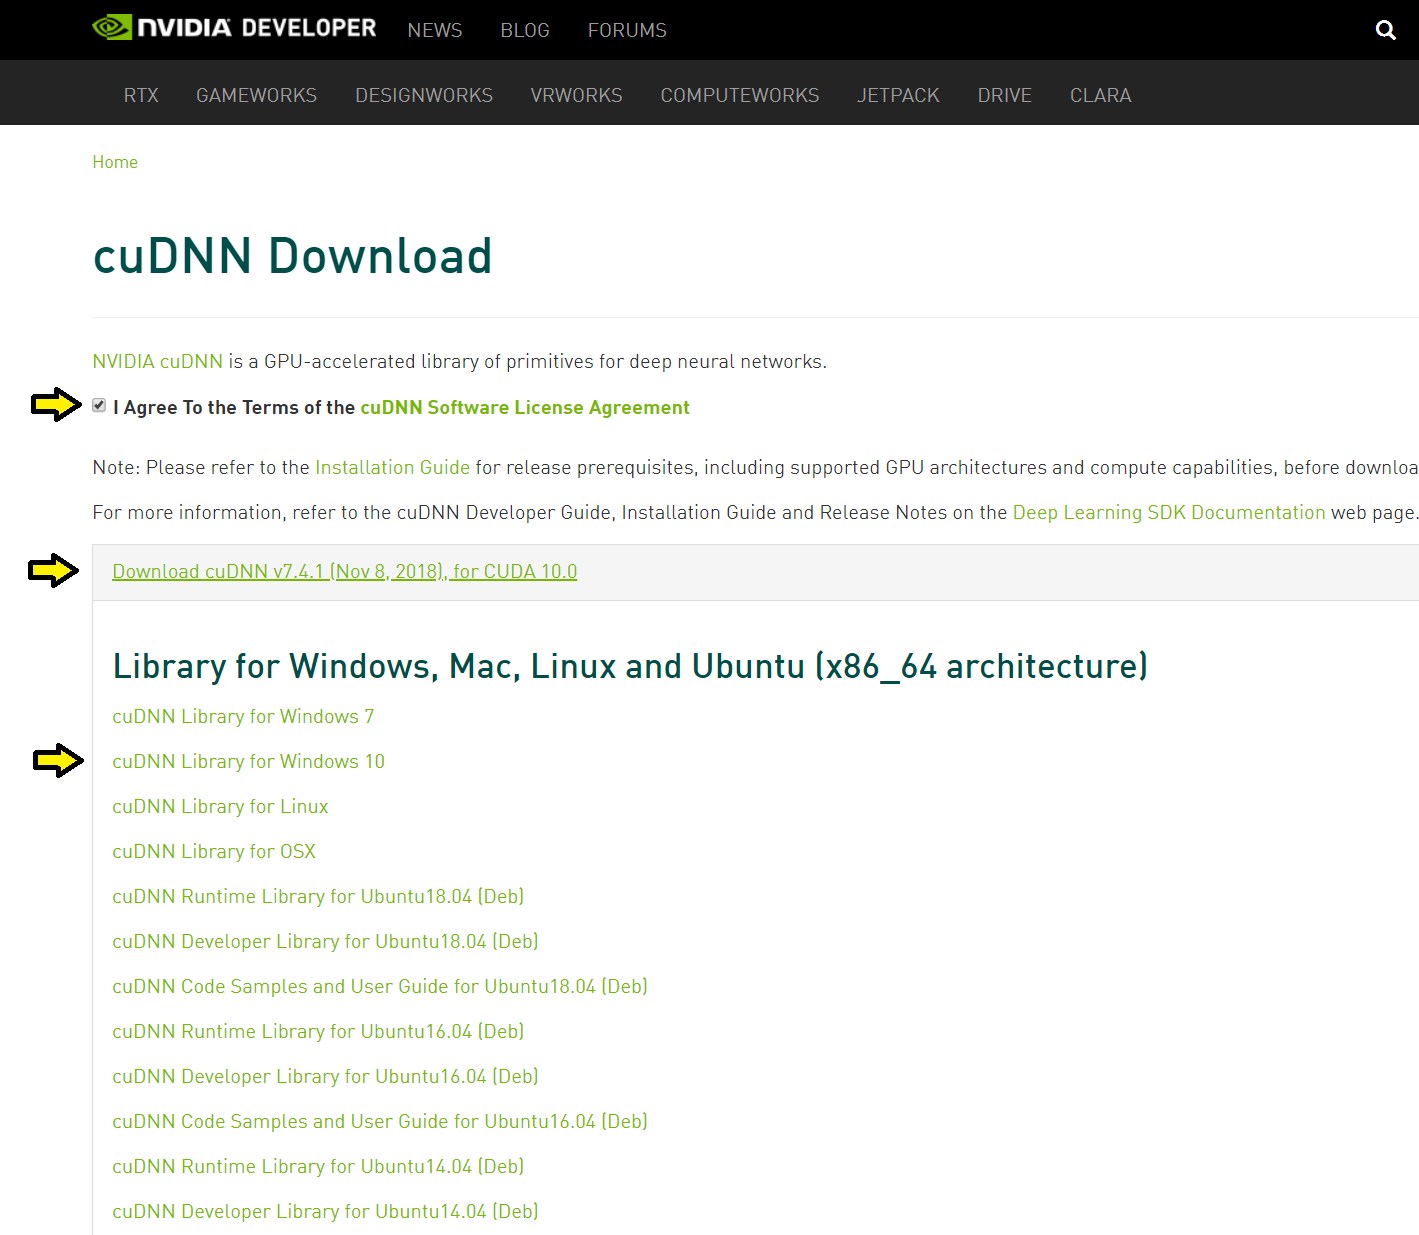
- Download from https://developer.nvidia.com/rdp/cudnn-download
- First, you need to register your email address.

- Download cuDNN v7.4.1 (Nov 8, 2018), for CUDA 10.0.
- Unzip the downloaded file.
- If CUDA Toolkit is installed in C:\Program Files\NVIDIA GPU Computing Toolkit\CUDA
- Copy cuda\bin\cudnn64_7.dll to C:\Program Files\NVIDIA GPU Computing Toolkit\CUDA\v10.0\bin
- Copy cuda\include\cudnn.h to C:\Program Files\NVIDIA GPU Computing Toolkit\CUDA\v10.0\include
- Copy cuda\lib\x64\cudnn.lib to C:\Program Files\NVIDIA GPU Computing Toolkit\CUDA\v10.0\lib\x64
Otherwise copy above 3 files to the place where you installed CUDA Toolkit. - Installation guide: https://docs.nvidia.com/deeplearning/sdk/cudnn-install/index.html#install-windows
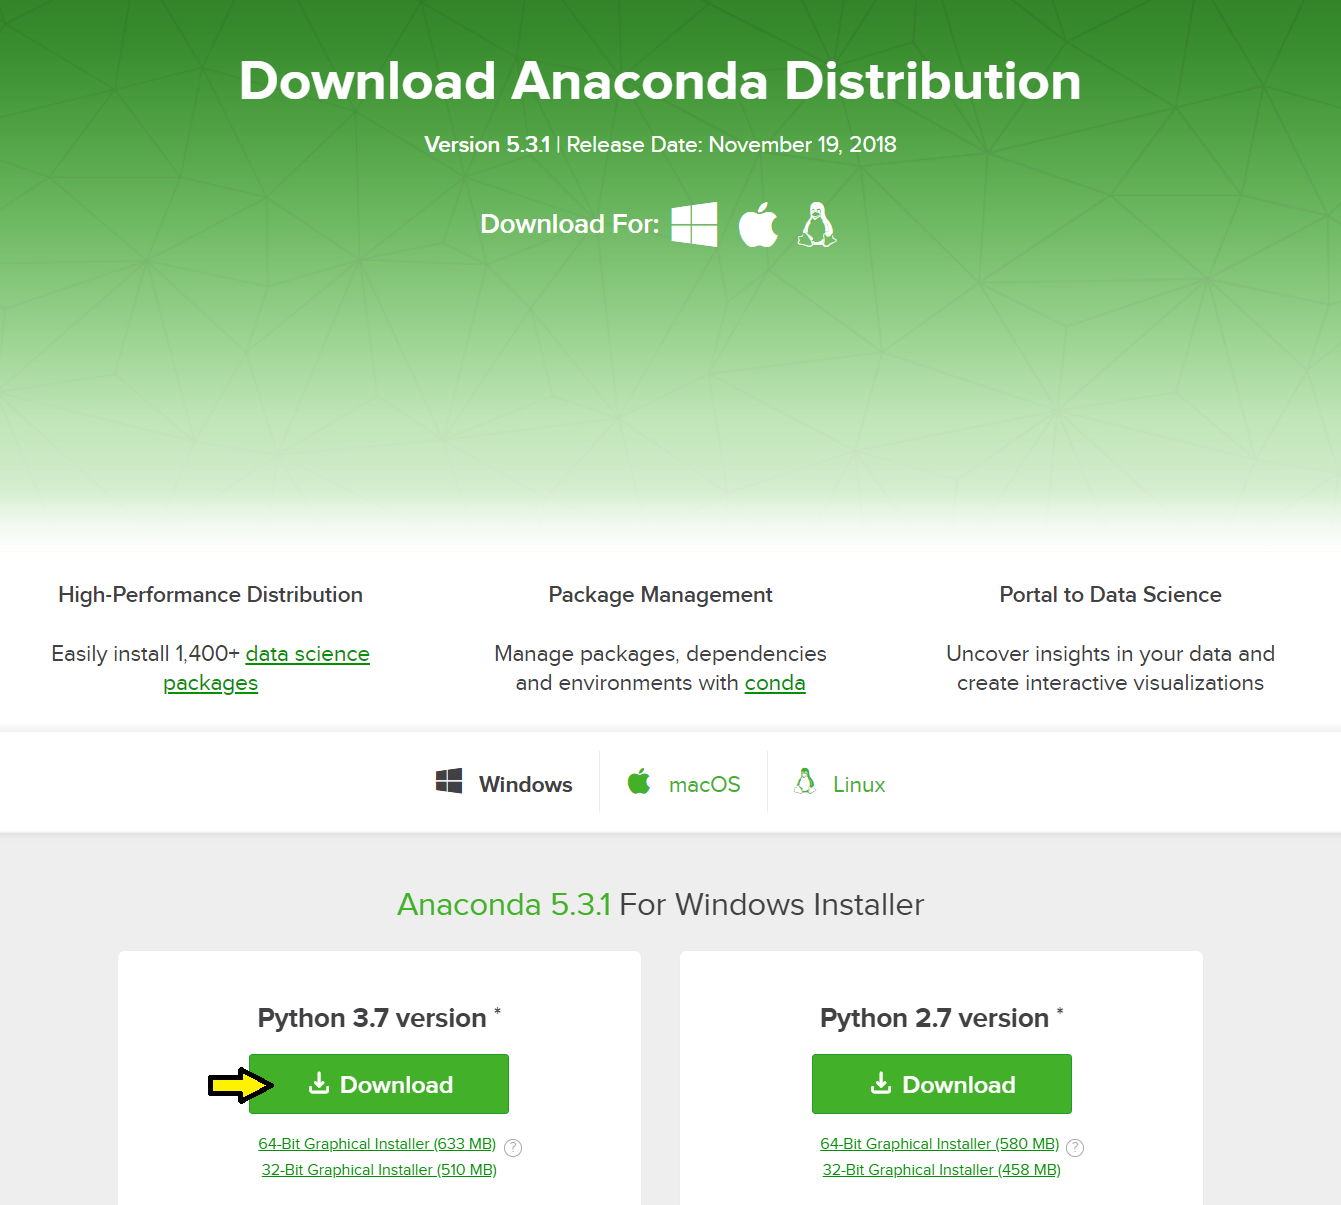
5. Anaconda
- Download Python 3.7 version from https://www.anaconda.com/download/
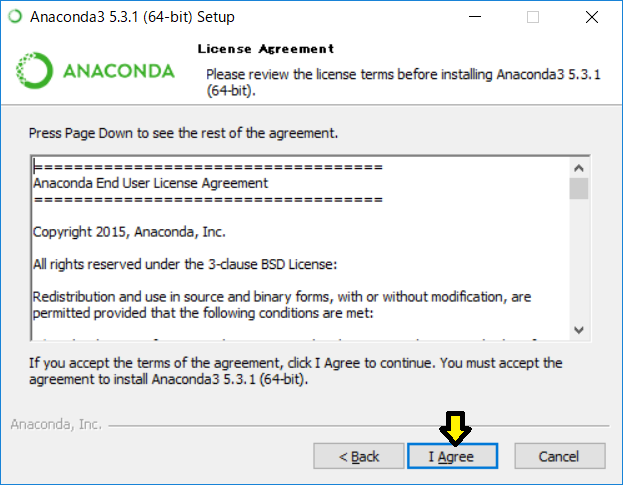
- Run the downloaded file.
- Next

- I Agree
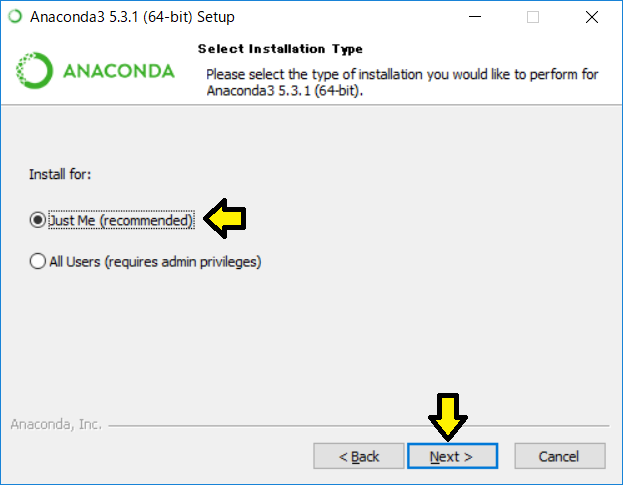
- Check "Just Me (recommenced)" and Next.
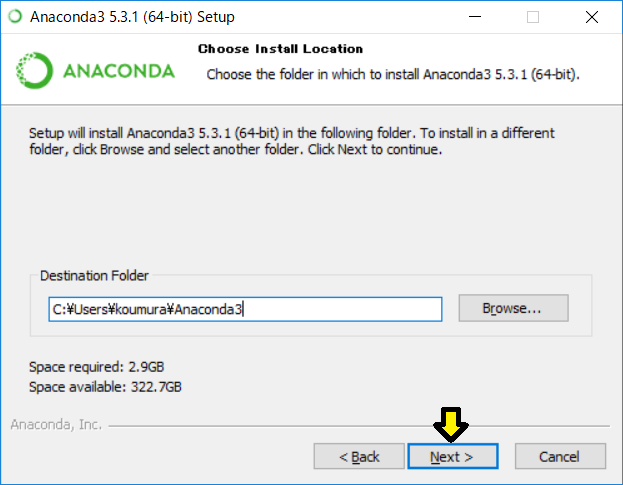
- Destination Folder can be anywhere. You can leave it unchanged. Take a note of this folder and do not forget. Then click Next.
- Uncheck "Add anaconda to my PATH environment variable" and check "Register Anaconda as my default Python 3.7" and click "Install". If you have already installed other Python environments, you may want to consider unchecking "Register Anaconda as my default Python 3.7".

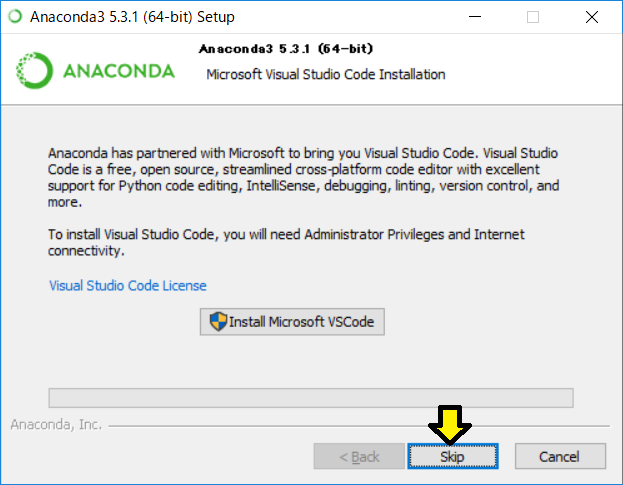
- Next

- Skip
- Uncheck both and Finish.
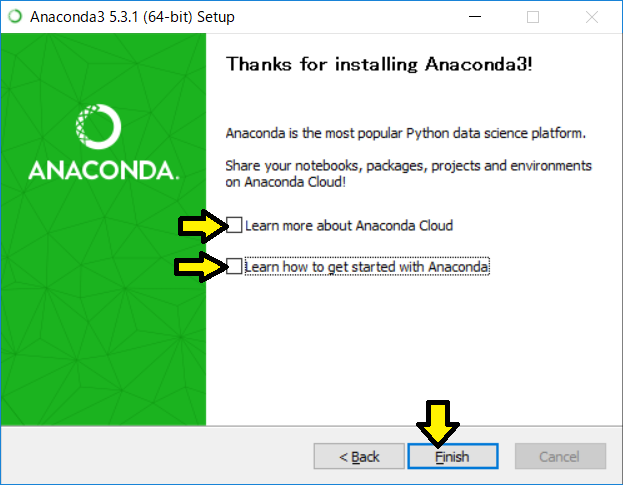
- It may be good to restart the PC just in case.
6. Chainer & cupy
- Open Windows Power Shell by right clicking the start button (or Command Prompt if using Windows 7).
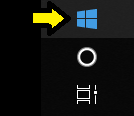
-
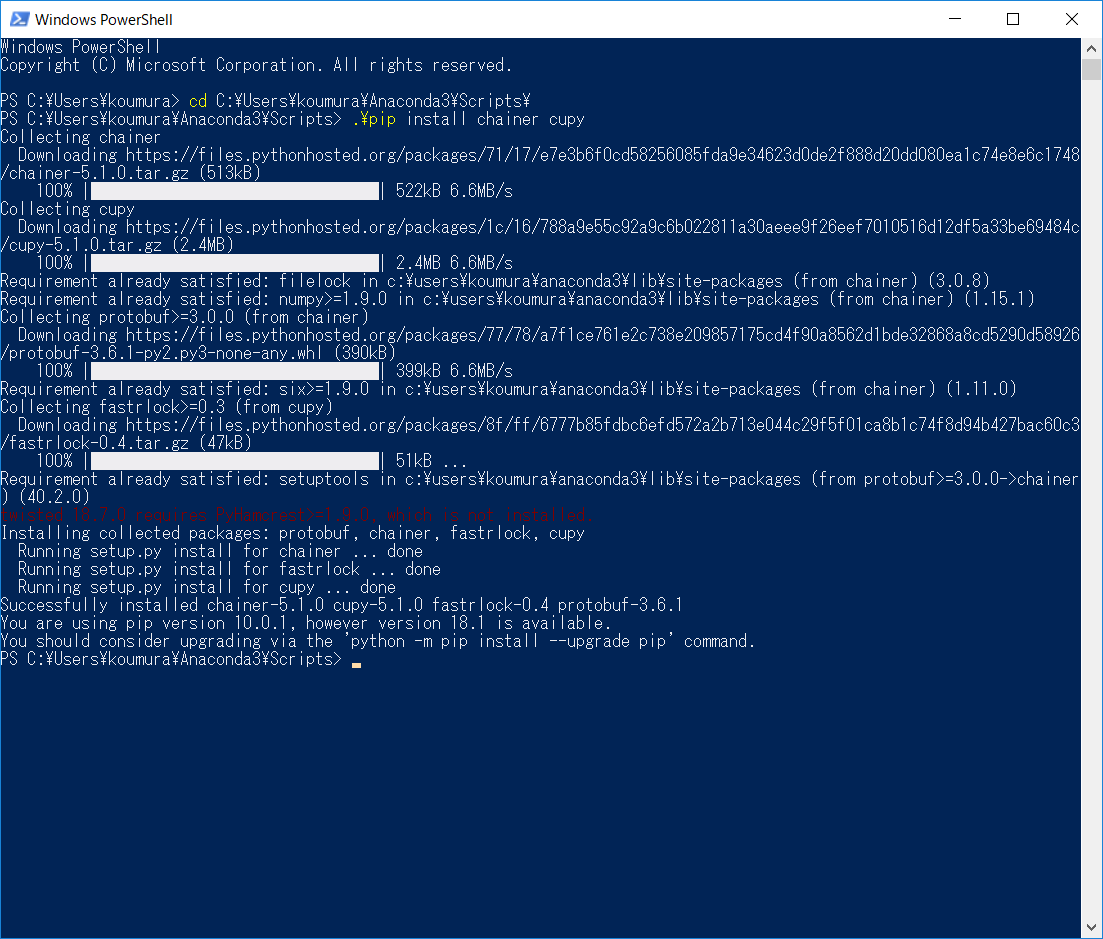
Type the following:
- cd THE_DIRECTORY_OF_ANACONDA\Scripts\
- .\pip install chainer cupy
THE_DIRECTORY_OF_ANACONDA is the location where you installed Anaconda. In this example, I installed Anaconda in C:\users\koumura\Anaconda3
- The result should look like this.
7. Eclipse
- Download the installer from https://www.eclipse.org/


- Run the downloaded file.
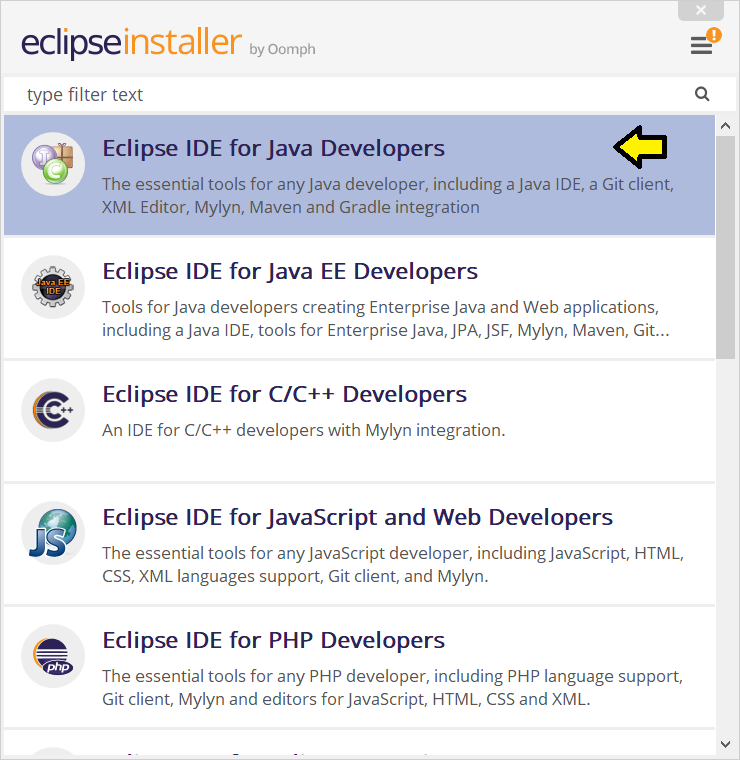
- Install Eclipse IDE for Java Developers. We are not using Java this time, but we need to install this for PyDev.
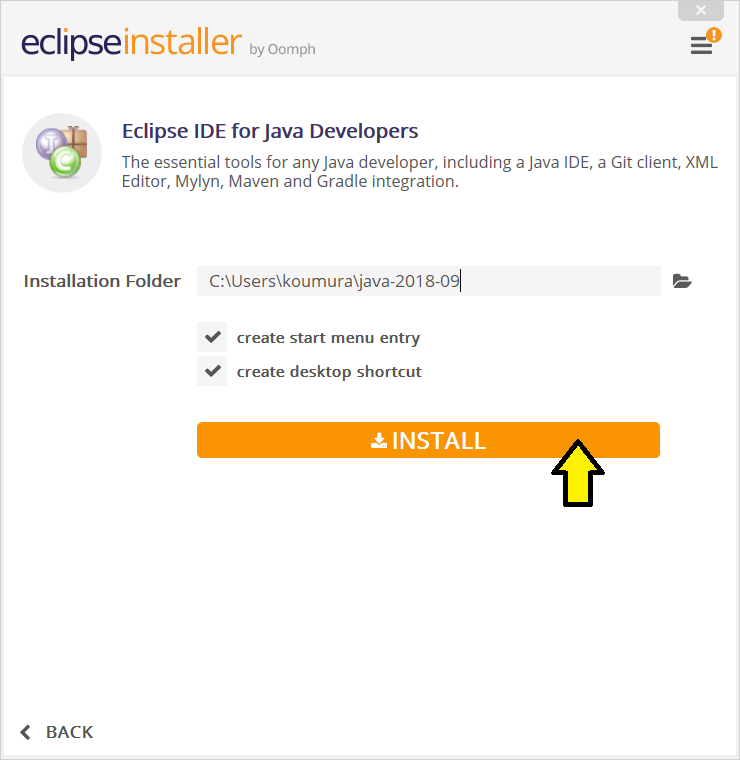
- The instllation folder can be anywhere. Then click "INSTALL".
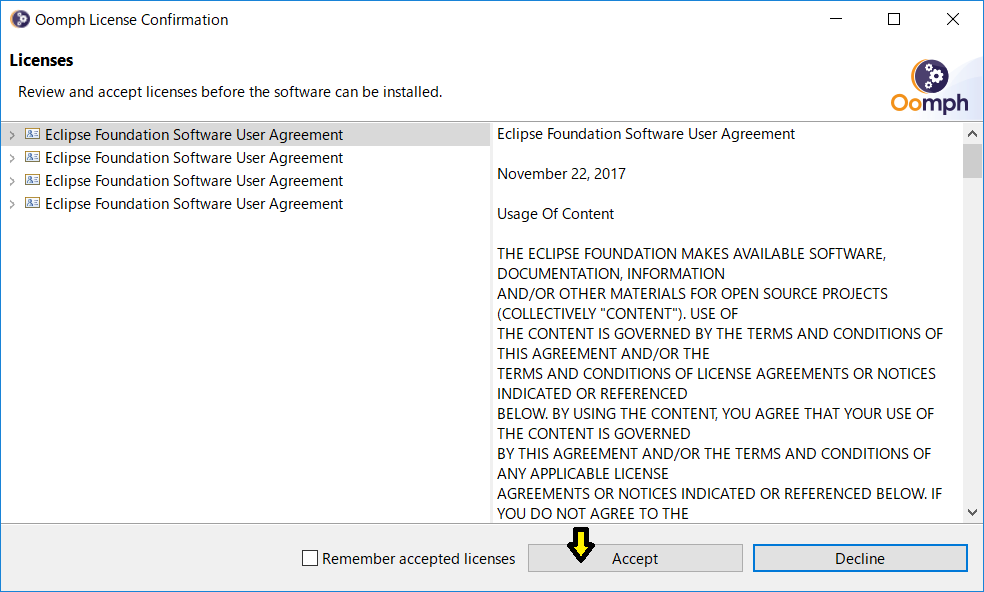
- Accept
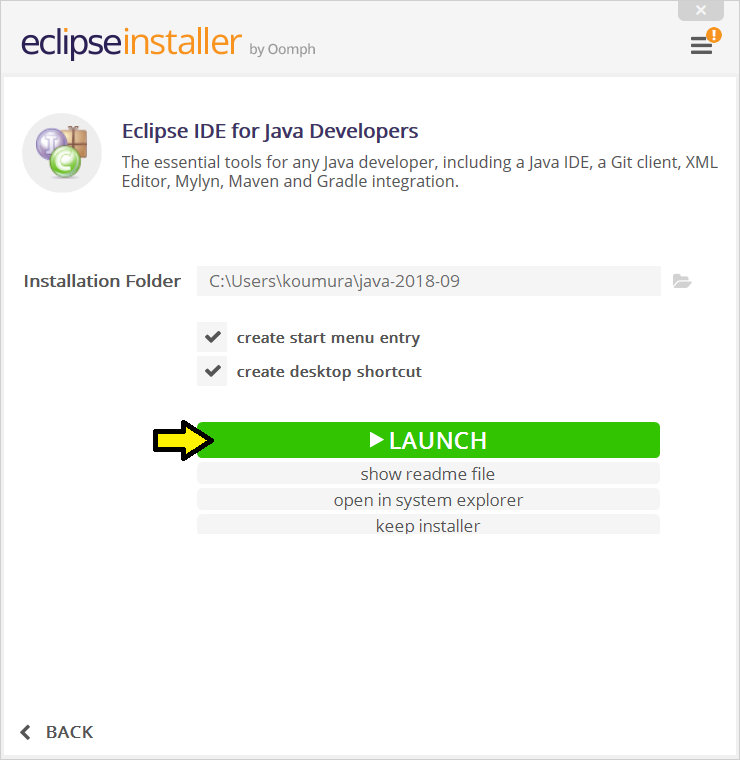
- Launch Eclipse by clicking "LAUNCH"or launch it from desktop shortcut
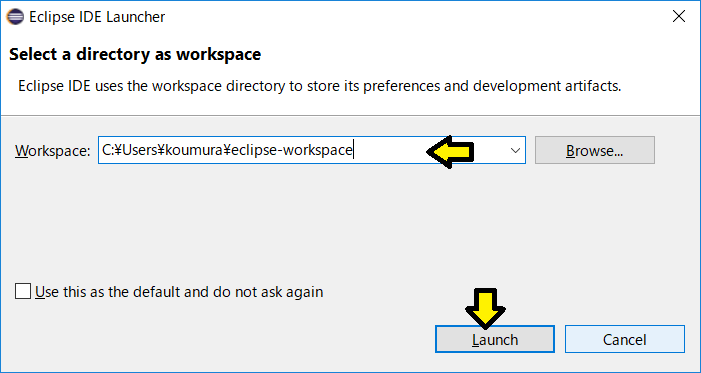
- You will be asked to choose the directory of your workspace. This is where your source codes will be stored. This can be anywhere. Then click "Launch".
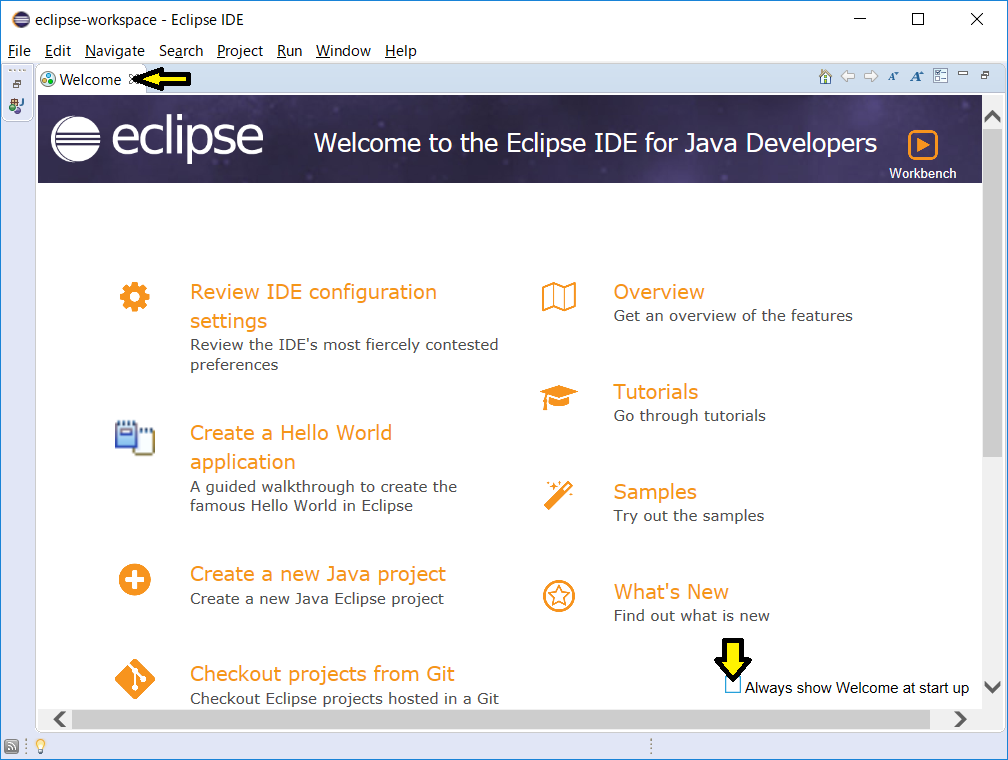
- Uncheck "Always show Welcome at start up" and close the tab.
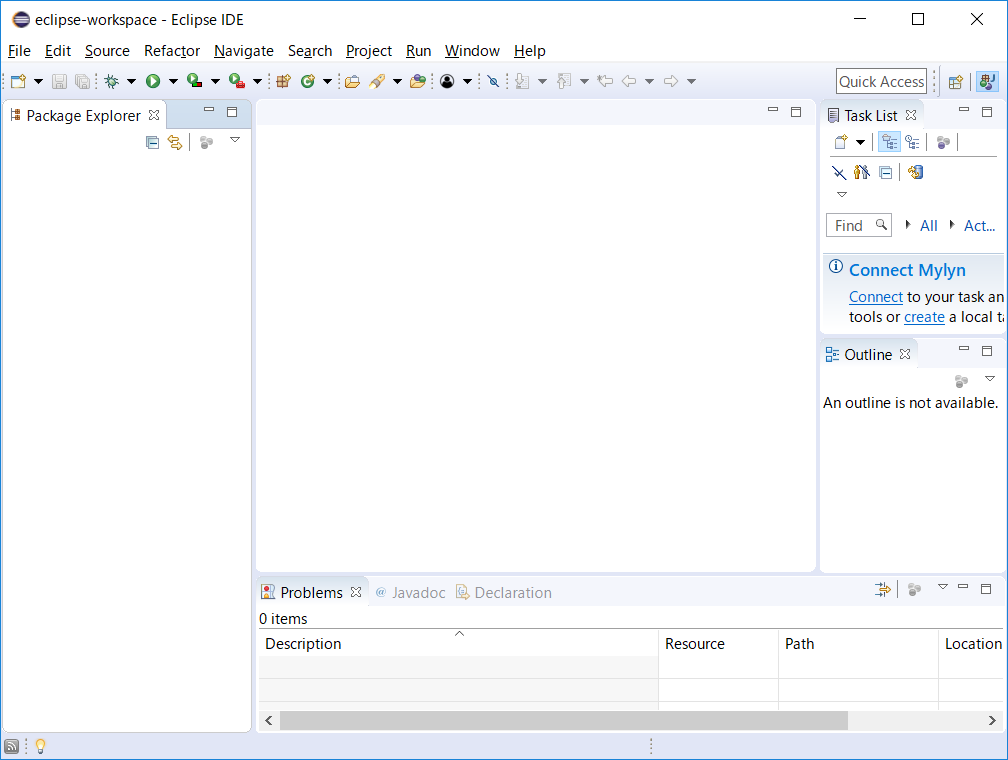
- The window should look like this.
8. PyDev
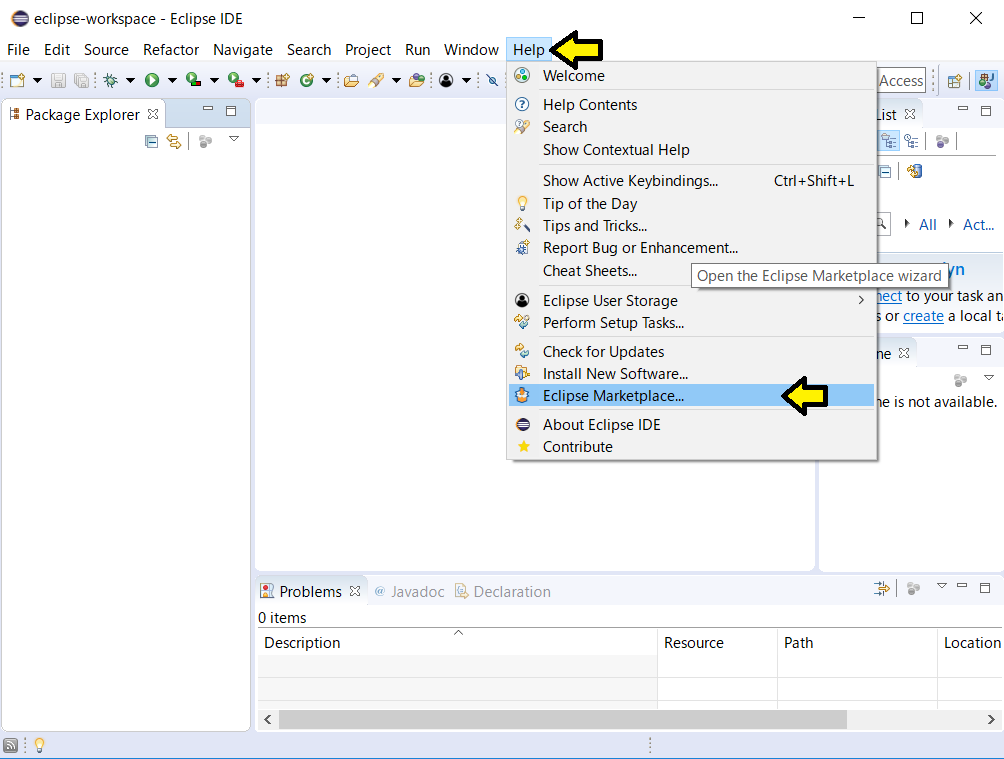
- Launch Eclipse.
- Go to Help -> Eclipse Marketplace.
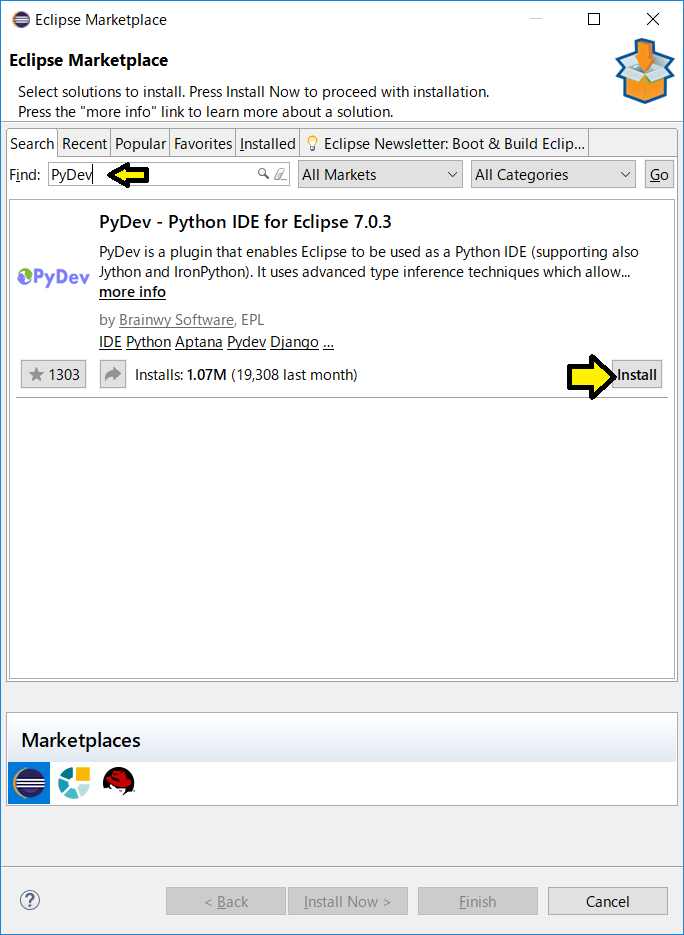
- In the find box, type "PyDev" and hit Enter. Click "Install".
- Click "Confirm".

- Check "I accept the terms of the license agreements" and Finish.

- Restart.

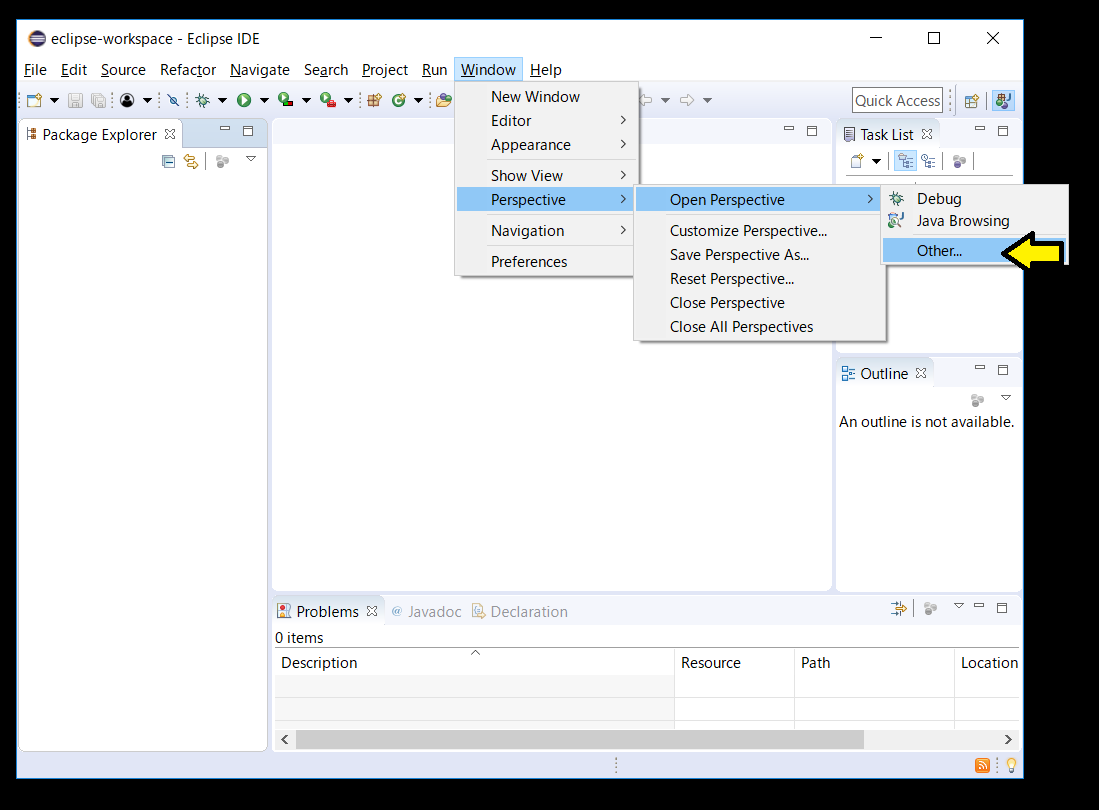
- Go to Window -> Perspective -> Open Perspective -> Other.
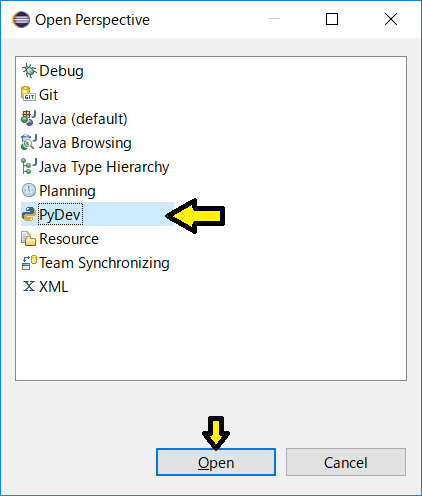
- Select "PyDev" and Open.
- Go to Window -> Preferences.
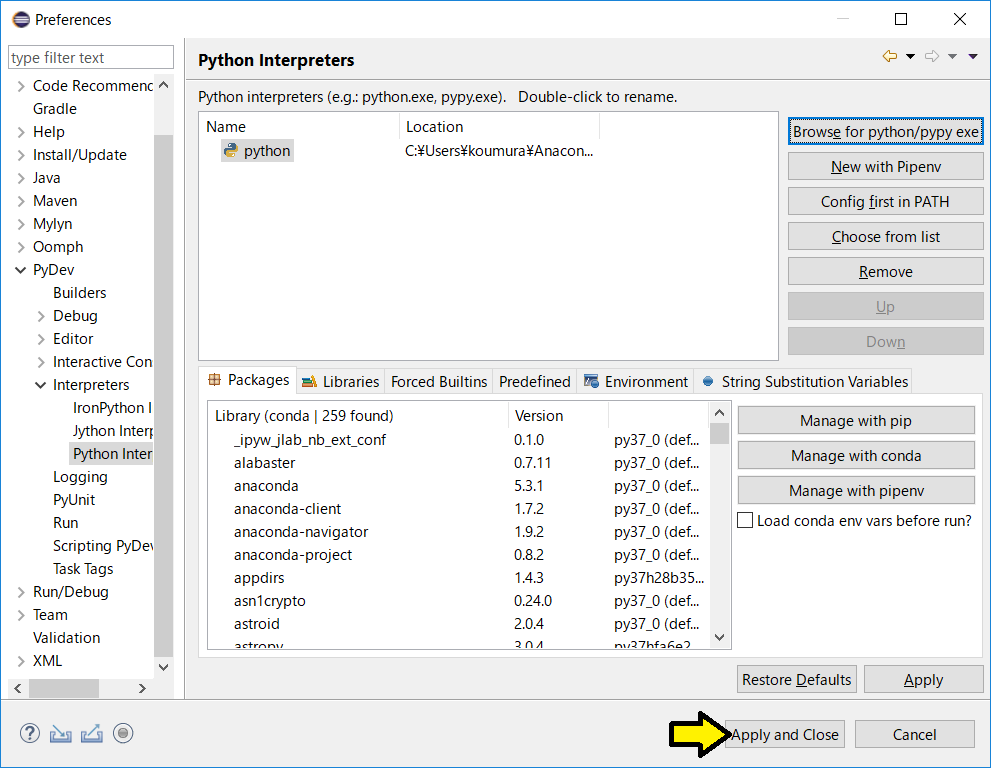
- Go to PyDev -> Interpreters -> Python Interpreter. Click "Browse for python/pypy exe".

- Select python.exe in the directory of Anaconda you installed and Open. Interpreter Name can be anything you like.
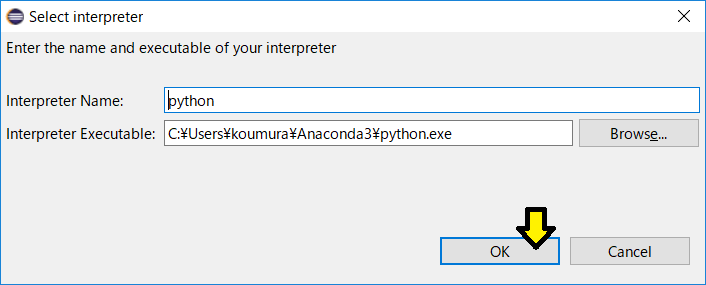
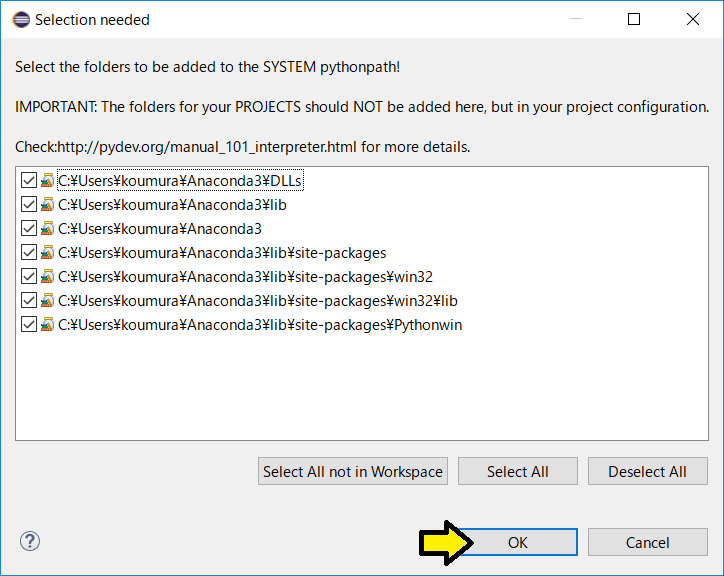
- OK
- Click "Apply and Close".
- If you get warning from Firewall, check "Private networks" and Allow access.